
Microsoft Advertising blog
Filter By

Product explorer in Merchant Center and other product news for June 2026
Learn about product updates in Merchant Center as well as disclaimers.
Microsoft Advertising Activate 2026: Key Takeaways from the Event
A recap of the biggest product announcements, AI updates, and partner opportunities unveiled on May 19, 2026.
Building a new AI economy that creates value for everyone
As we head into Cannes Lions, we’re excited to share new AI solutions to help businesses of all kinds accelerate growth.

How Wriggle Marketing Is Driving B2B Growth with Microsoft Advertising
Dion Williams, Head of Paid Search at Wriggle Marketing, shares how specialist expertise, platform innovation and a client-first mindset are helping
2026 Partner Awards: Nominations are open
Nominations are open for the 2026 Microsoft Advertising Partner Awards. Elite and Select tier partners have until July 15, 2026 to submit their nominations
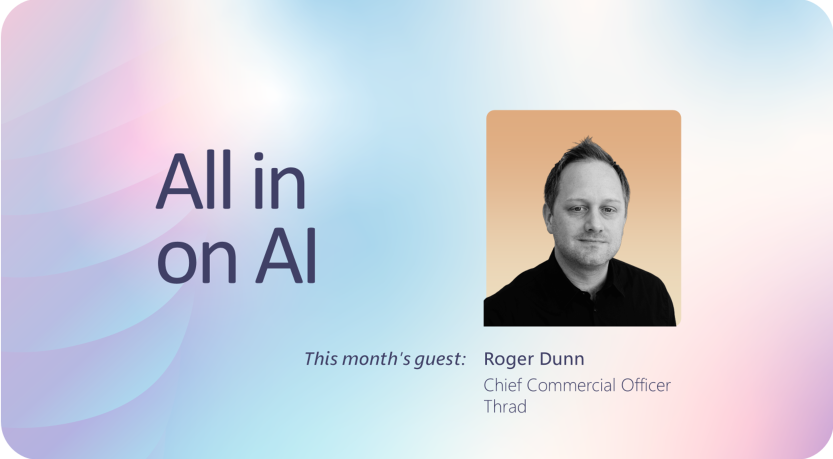
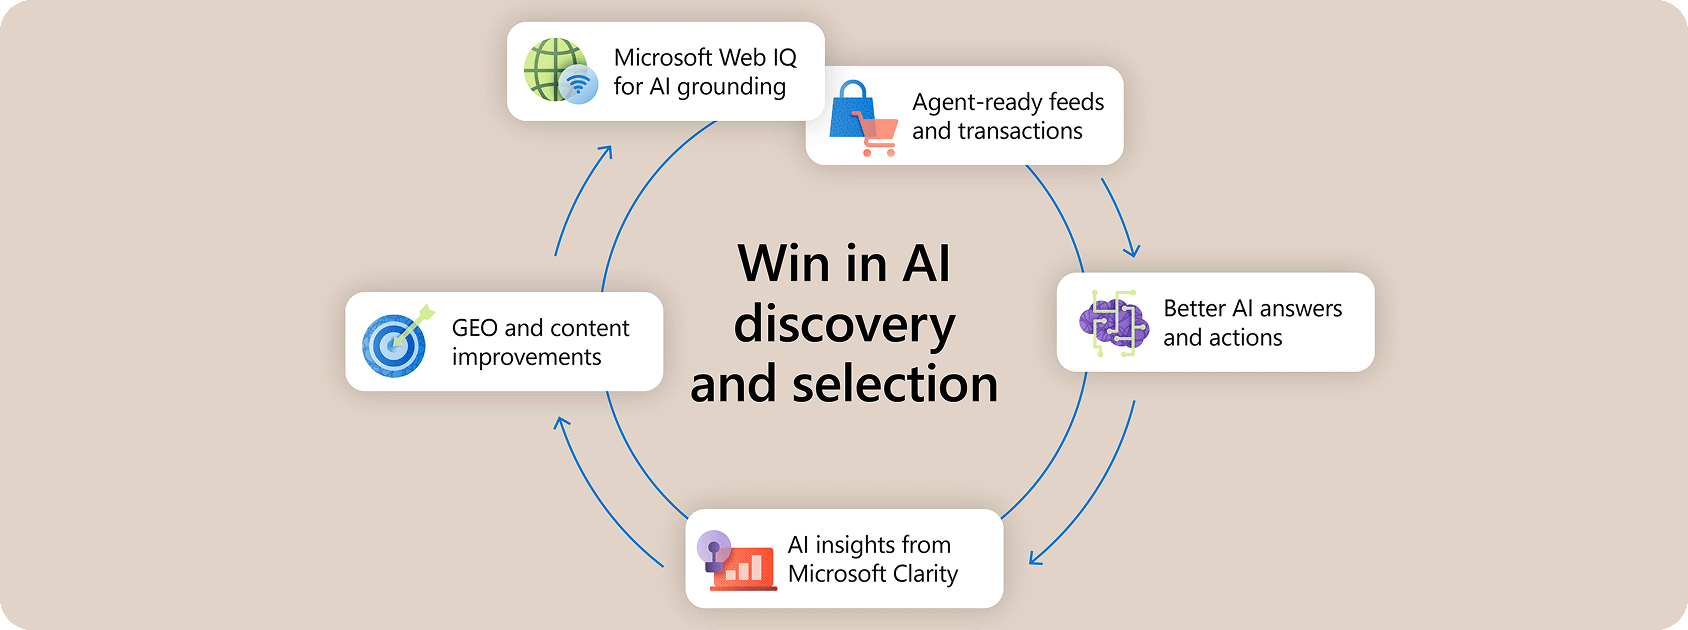
All in on AI Series: Agentic Commerce
AI agents are changing how consumers discover and buy. Here’s what brands need to win in the new ‘shortlist economy.’
Your input makes us better
Take our quick 3-minute survey and help us transform your website experience.